As we come to the end of 2023, I want to take some time to look back and reflect on what a great year 2023 was for my photography. I started tracking the number of species I’ve photographed this year and I’m now up to 103 with a few days left in the year.
So many firsts and exciting photographic opportunities this year: capturing a kingfisher in flight, finally locating some of the owls that live in our area, and the biggest of them all, seeing American flamingos in Central Florida (they were thrown off course by the hurricane that hit our area in the fall).
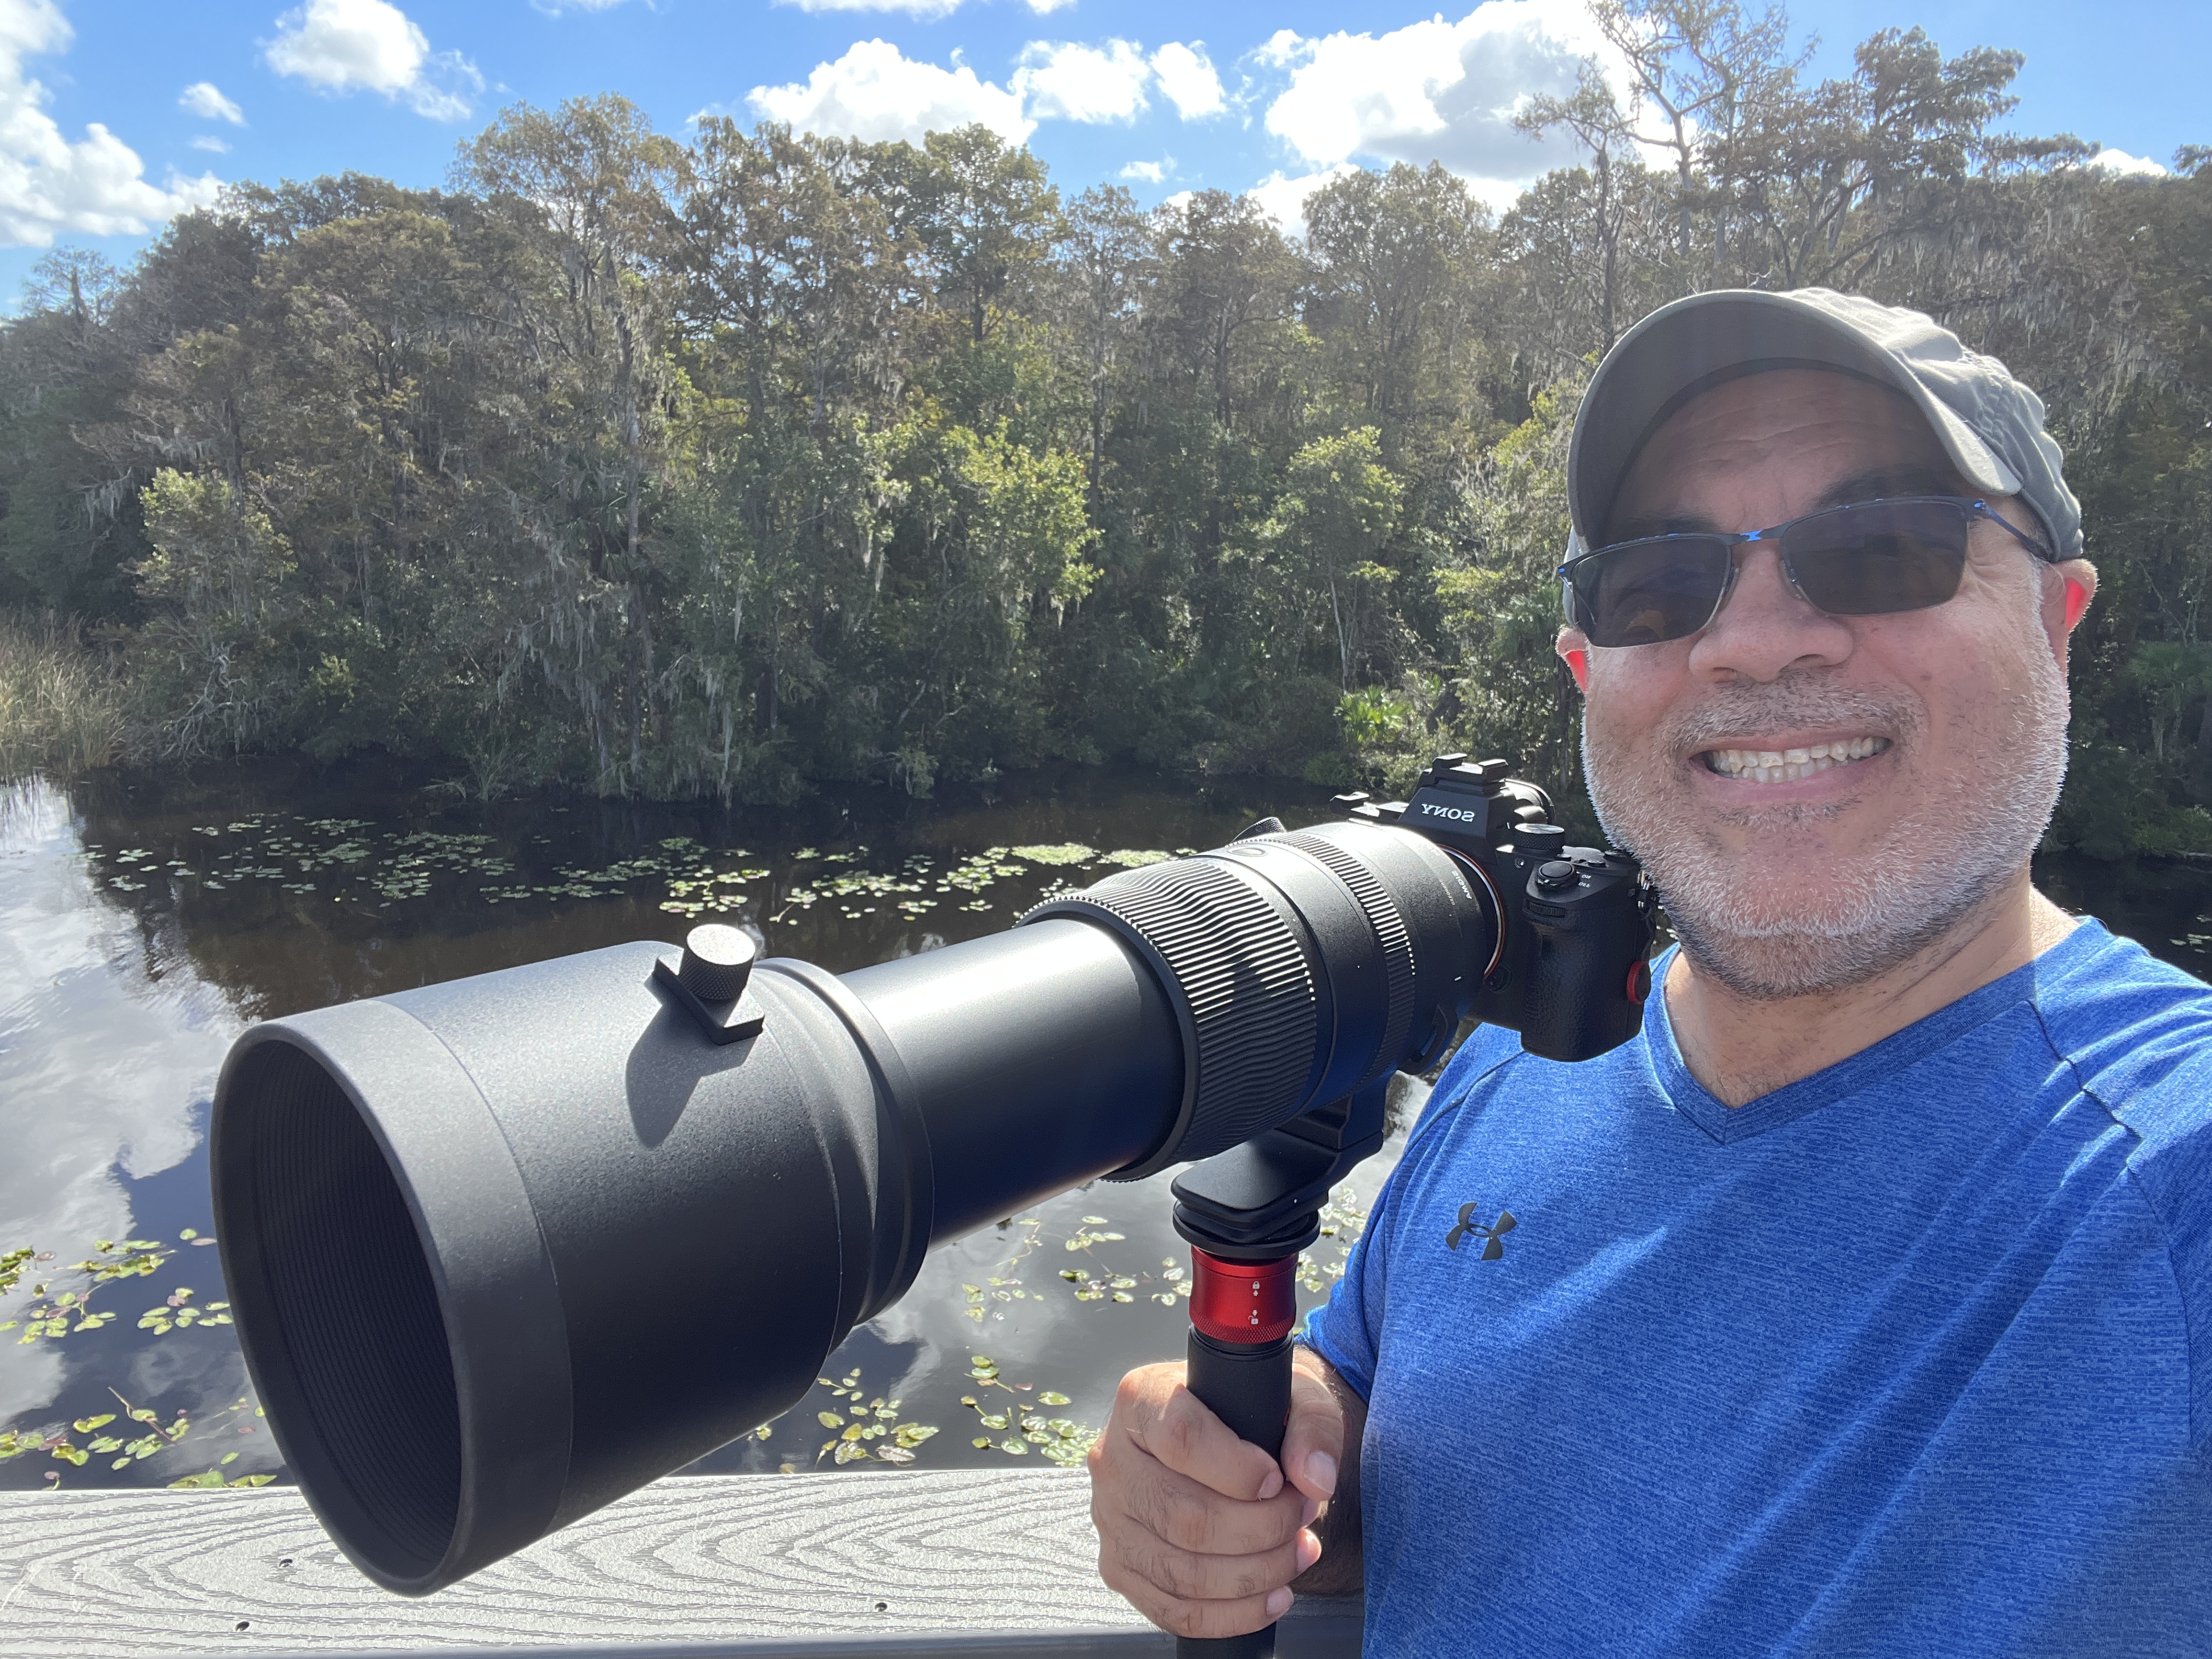
Not much has changed in terms of settings and equipment for me. The biggest change was the addition of a Ground Pod and a Benro gimbal head to my toolkit. I love both pieces of gear and I never go out to the shore without this combo now. It really allows me to get low and experience shorebirds (what has become my preferred niche) from a much better perspective. I also love what it does to the background, which comes out buttery smooth due to the separation.
If there has been a significant change in my photography is that I am starting to find my niche a little bit better. I do have to make some allowances for my visual impairment, and one of those is my limitation in capturing photos of warblers and other small birds that live in the woods (where the lighting is not good for me or my lens). I have found raptors and shorebirds to be the birds that are the easiest for me work with: raptors don’t really feel threatened or pay you much attention to you, and shorebirds are often out in the open at places like Fort De Soto where I can walk by myself without much danger of running into someone or falling (especially in the early morning when just photographers are present). I have added the location to each photo for reference – I tend to stick to Pinellas County Park locations that have pretty good accessibility.
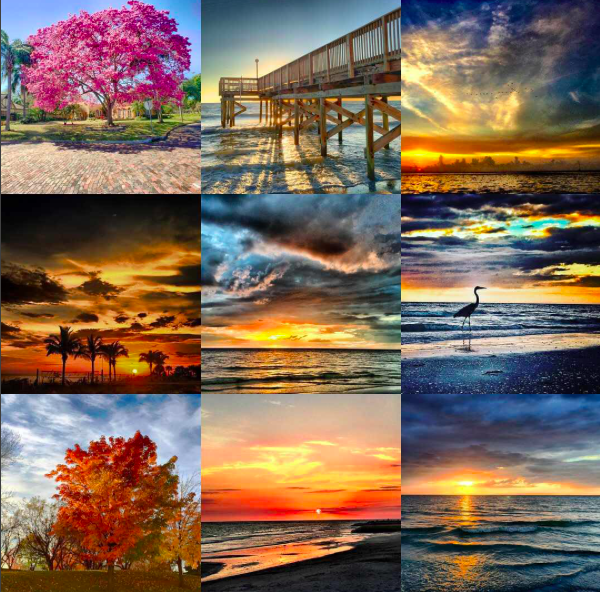
I’ve created a slideshow with music highlighting what I consider my best photos of this year – I hope you enjoy it. Each entry includes a link to the full description and other information about the bird on All About Birds, along with my recollections of the specific shot.
- Carolina wren: this little bird often greets us with its “tea kettle” song when we get to the woods at John Chestnut Senior Park. This one was peeking in and out through the openings on a fence that is in place on one of the boardwalks near Lake Tarpon to protect walkers from the gators.
- Red-shouldered hawk: I love the bigger birds, such as owls, hawks and other raptors, because they are easier for me to find and photograph. Even then, it can be difficult to track these birds as they fly through the woods. I was lucky that this beautiful bird came down and perched in the open on top of a post for a few minutes, just long enough for me to capture this portrait without branches getting in the way. Location: John Chestnut Senior Park.
- Reddish egret (state threatened): I love the antics of the reddish egret while it is looking for fish. It appears to dance over the water. This one got lucky and nabbed a little fish in the shallows. I was hoping for it to do the fish flip they often do before swallowing the fish, but no luck that time. At least I captured it holding the fish as it moved through the shallow waters doing a slight wing spread. Location: Fort De Soto.
- Black skimmer (state threatened): Capturing a skimmer in flight was pretty challenging for me. To be honest, this is a lucky shot where I shot a series of photos (“spray and pray”) and this one was sharp enough to share. Next goal is to capture one actually skimming the water which is how they feed by capturing fish with their highly sensitive bills. Location: Fort De Soto.
- Northern parula: This is about as small a bird as I can photograph. Lucky for me, this parula was perched just a few feet away in an open branch and its bright blue and yellow colors made it easy for me to find in the viewfinder. Location: John Chestnut Senior Park.
- Least bittern: One of the most elusive birds I photographed this year. The least bittern blends in really well, often holding its neck up and swaying along with the surrounding reeds in its habitat. I was lucky to find this one in the open right after arriving at the wetlands on a very early Saturday morning. It did its heron thing and just stood perched very quietly along the edge of a bunch of high grasses. Location: Roosevelt Wetlands.
- Yellow-crowned night heron: I captured a few photos of this heron over the year, but this portrait was my favorite. Location: Largo Central Park Preserve.
- Piping plover: I have a soft spot for the “peeps,” the little plovers that make Fort De Soto home for much of the year. The cross-country journey these little birds make to get here is nothing short of amazing – many of them come from as far as the Great Lakes region. This shot of a single piping plover standing in the mudflats was taken at ground level with the Ground Pod.
- Roseate spoonbill (state threatened): This photo almost didn’t happen. I got to the beach early one Saturday morning and this pair of spoonbills walking slowly in the tidal pool were the first two birds I saw. They were walking in sync with each other. Right after I clicked a few frames of these two, the leader of the bunch gave the signal and the whole flock flew out to the other side of the park. Location: Fort De Soto.
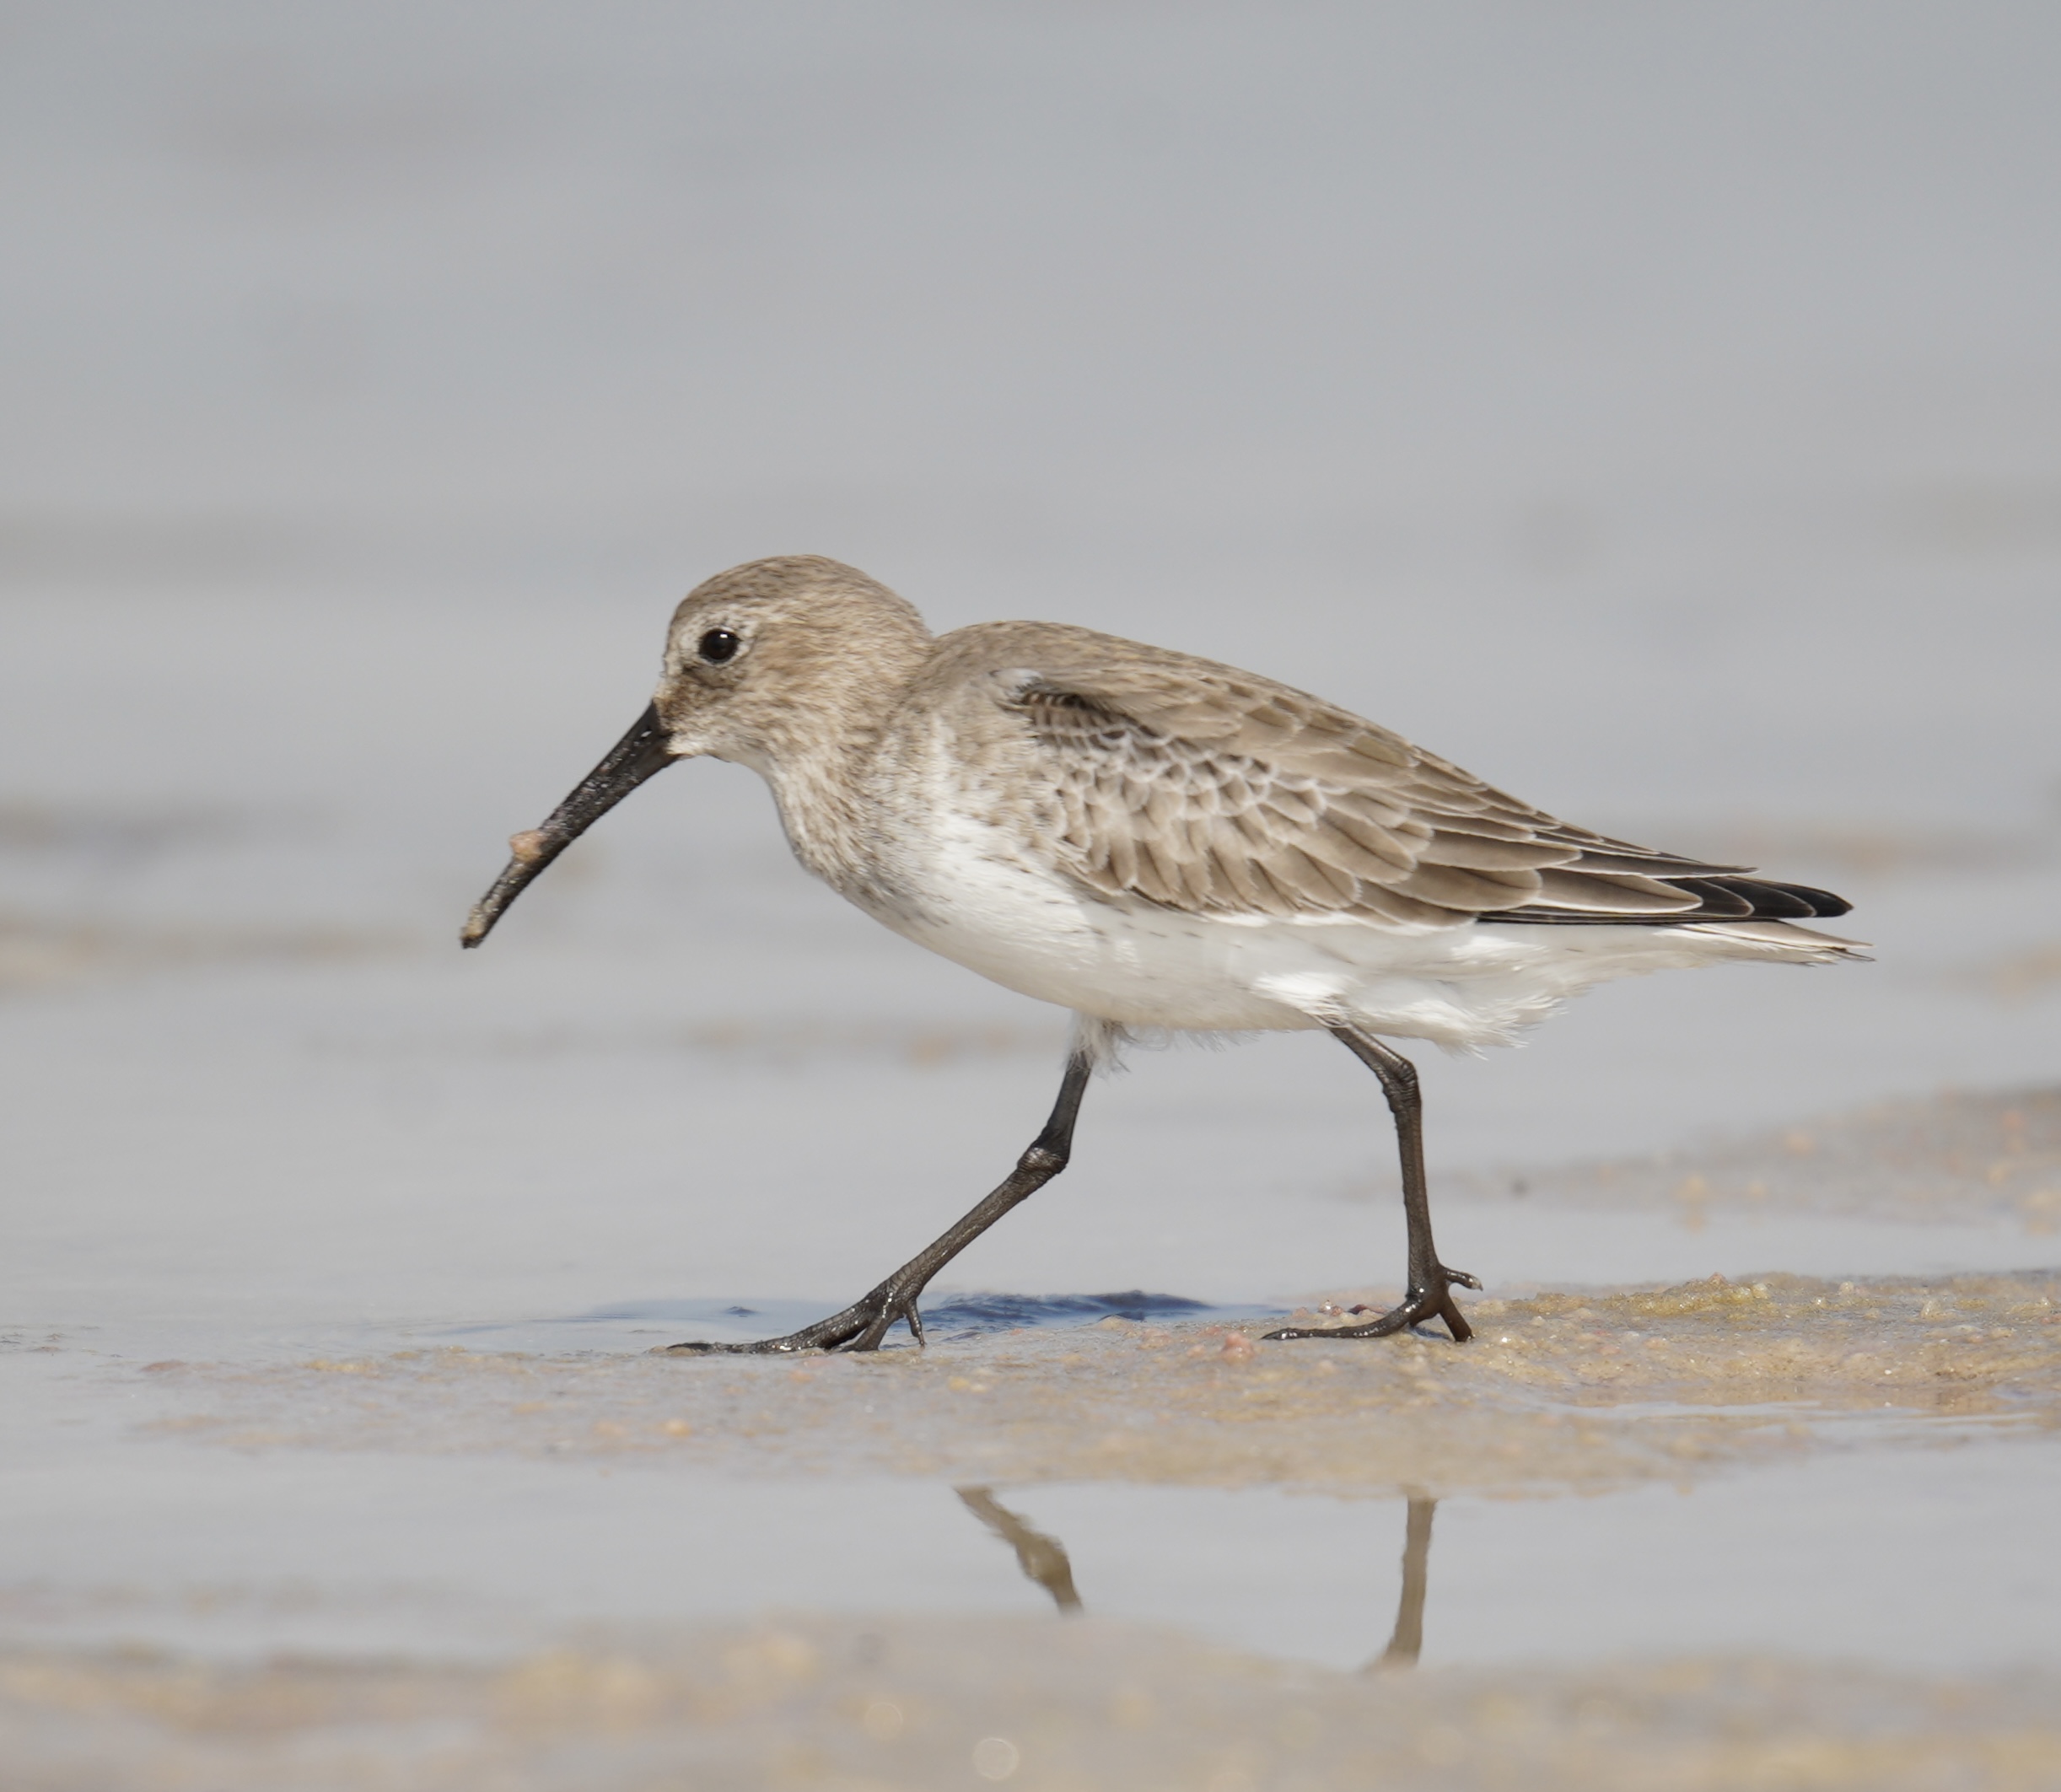
- Whimbrel: A somewhat rare visitor to our area, I’m proud of this frame because I first found the bird by ear (something I’ve been working on this past year). Once you find where the whimbrel is located, it is easy to identify it due to its long, downturned bill which is unique among the shorebirds. I’m hoping to see a long-billed curlew, which has been a rare visitor and looks very similar to the whimbrel, just with a much longer bill. Location: Fort De Soto.
- Red shouldered hawk: I was out on a field trip for the local Audubon group when this hawk just landed in front of me on an exposed stump at Taylor Lake (which was drained for repairs on the access road and resulted in many shorebirds coming to the park and staying in the exposed lake this summer and fall). It took me a while to notice that the hawk was struggling to grasp a small snake in its talons. After a bit, it got a good grasp and flew up to a nearby tree where it proceeded to swallow it (I did not capture that part of the experience). Location: John S. Taylor Park.
- Reddish egret: This was one of my first times using the Ground Pod to get real low and capture this reddish egret walking along the mud flats on a day when the tide was really low (my favorite time to go to Fort De Soto).
- Wilson’s plovers: Not as common but still plentiful at Fort De Soto are Wilson’s plovers (soon to be renamed based on a new policy that will give birds names based on their characteristics or behavior instead of naming them after the person who discovered or popularized the species). I loved the way these three were lined up while resting among the grasses at north beach, with just the one in the middle in focus.
- Barred owl: We were actually looking for a hawk when my partner Cindy noticed this small owl clinging to the side of a dead tree. It stared at us for a bit before flying off in search of its next meal. We are lucky to have quite a few of these beautiful birds at John Chestnust Senior Park. Please avoid the use of rat poisons which can kill not just owls but many other predators (as happened last year at another park where an entire family of great horned owls were killed by poisoning). Location: John Chestnut Senior Park.
- Great horned owl: Speaking of finding birds by ear. We heard this one hooting in the woods and eventually found it perched on a tree where I was able to take this nice portrait. Wish the branch were not in front of it covering some of its face, but you get what you get when you get it. They are not exactly models who respond to directions. Location: John S. Taylor Park.
- Belted kingfisher: Another lucky shot. A pair of kingfishers were making feeding runs up and down the banks of the Taylor Lake. I just fired away and got a few frames of this fast flying bird. This is just one of about four frames I was happy with. Location: John S. Taylor Park.
- Blue gray gnatcatcher: This is very common bird, but I defined it as my “nemesis” because it is really small and flighty bird. It rarely sits still. We were having a conversation with another photographer on one of the paths when this one just came down and perched for a few seconds and voilá, I got my gnatcatcher. Location: Largo Central Park Preserve.
- Great egret: Another common bird, but I really liked the contrast of the white bird with its wings spread as it took off and flew across the wetlands with the browns and yellows of the grasses in the background. Location: Roosevelt Wetlands.
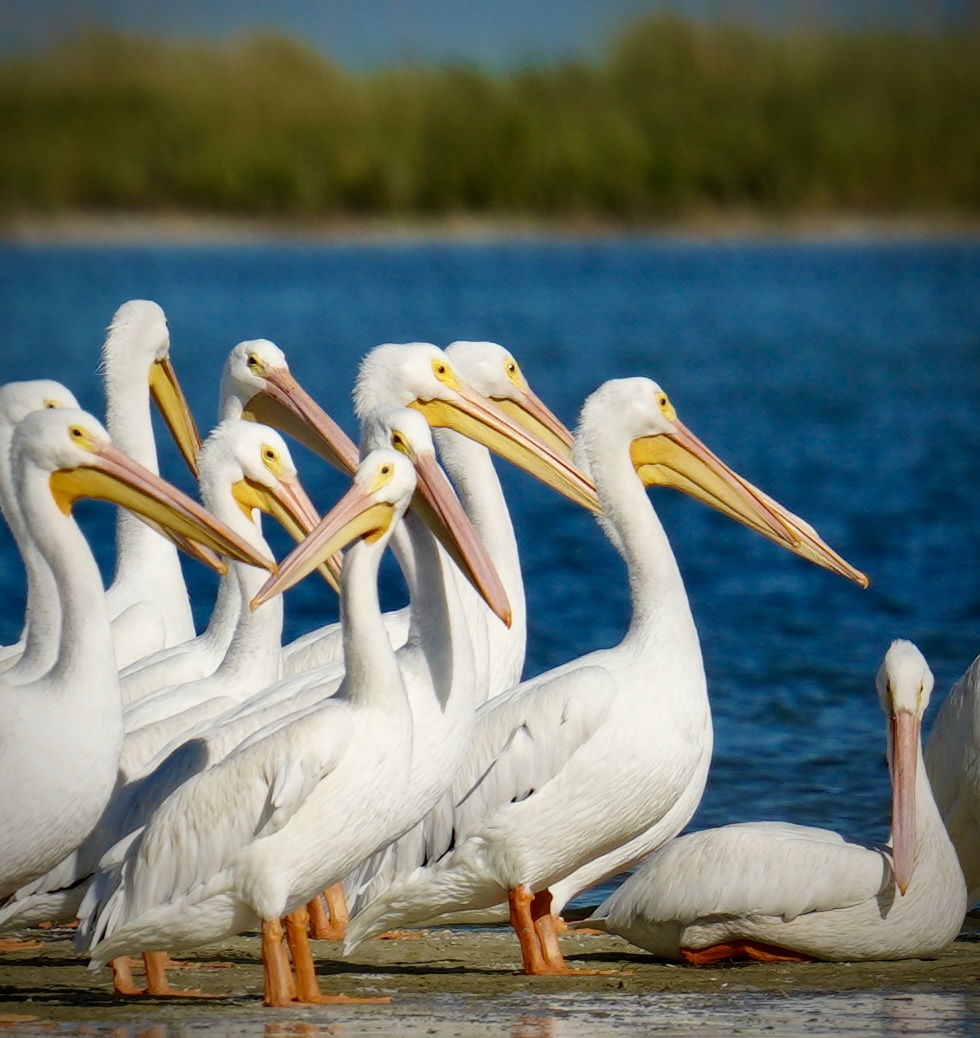
- American white pelican: These large white birds are real snowbirds. They start arriving in large flocks in November and stay here for most of the winter. I was able to find a large flock of them on a weekend visit to Fort De Soto, but this portrait was actually taken when I found about five birds floating near the banks of Crescent Lake in downtown St. Petersburg.
- Snowy egret: Another common white heron found throughout our area. I liked the determined look on this one as it grabbed on for dear life on the rocks near the fishing pier at Fort De Soto.
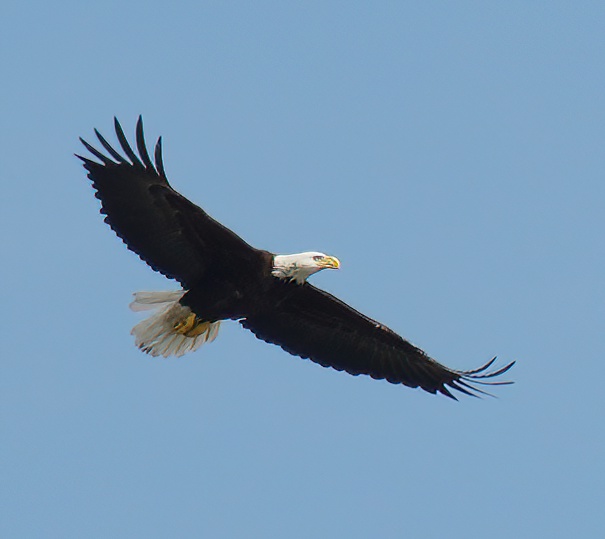
- American bald eagle (protected): The bald eagle population is showing signs of stabilizing in Florida, but these birds are still protected. They are typically in tough to reach areas where it is difficult to photograph them even with a long lens. That was the case with this one, which has a nest near Lake Tarpon. However, the pair often come over to the side of the park we visit and I got lucky when this one flew above us. It was a cloudy day so the background is not the best, but I’m just happy that I was able to get a somewhat sharp photo since I didn’t have a chance to change my settings and just had to pan with the bird as it flew overhead as well as I could. Location: John Chestnut Senior Park.
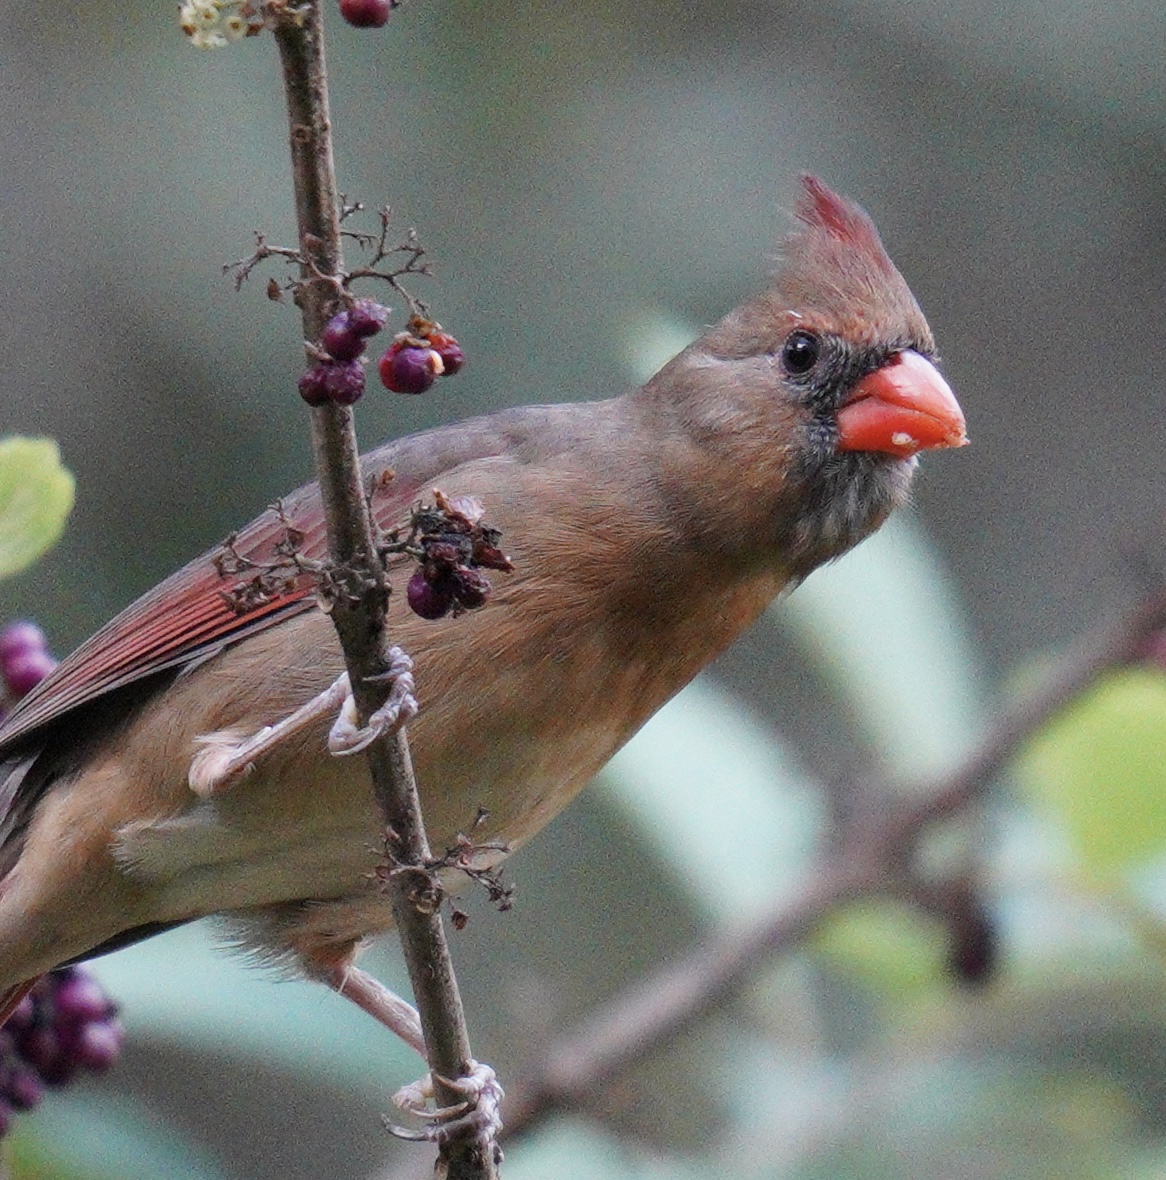
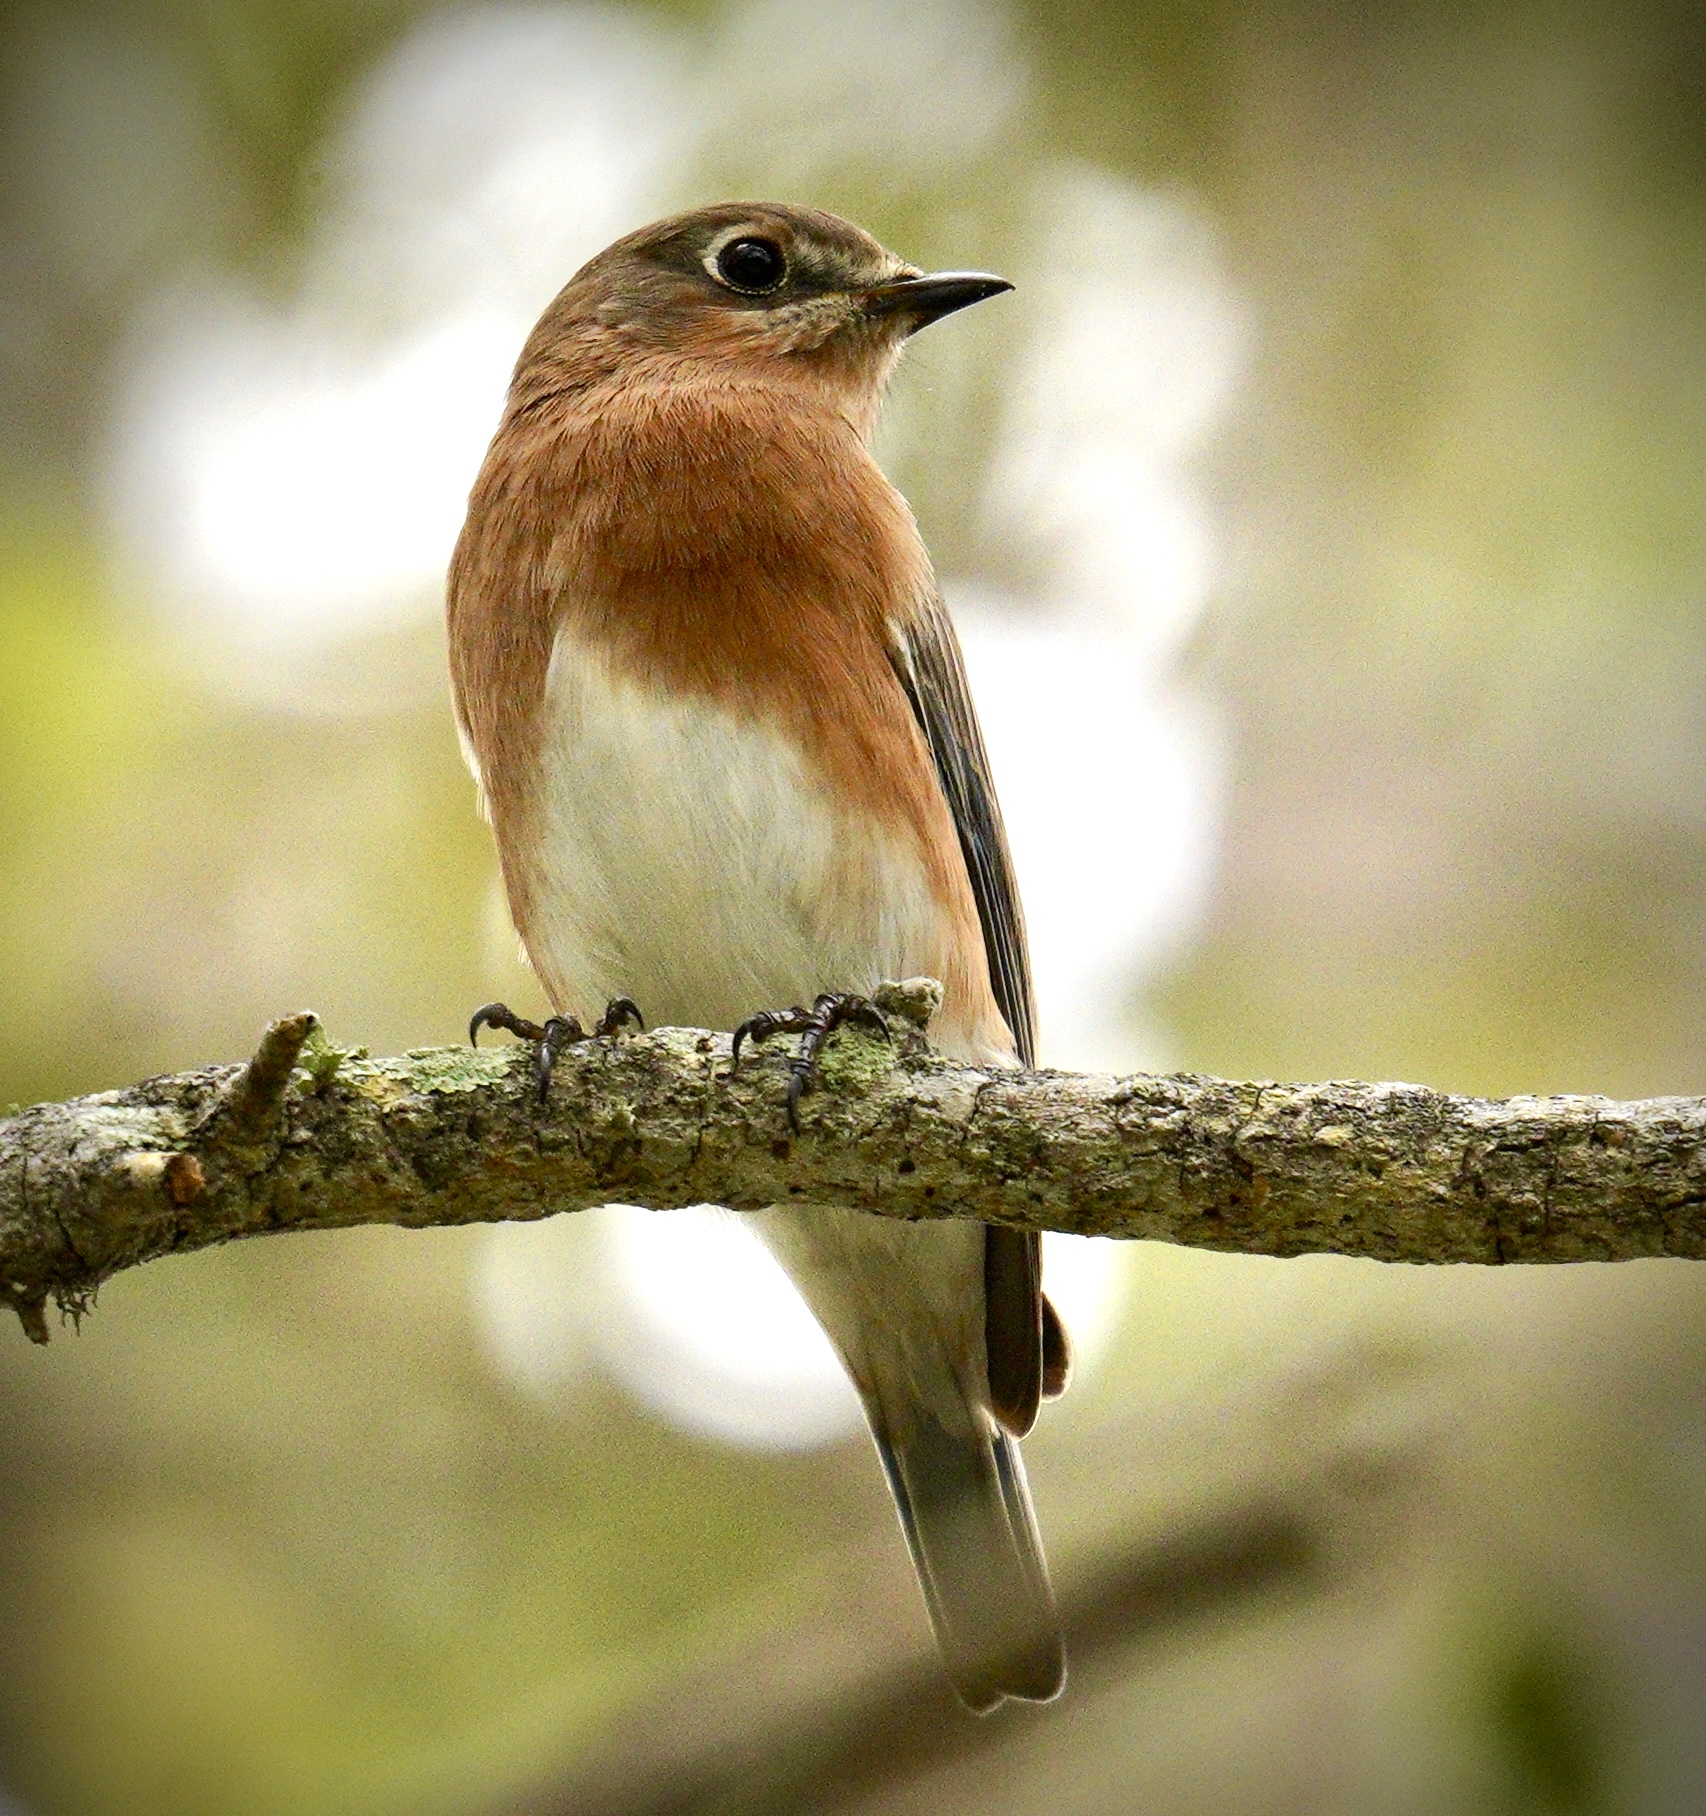
- Northern cardinal female: This female cardinal (note the brown, not red, plumage) was just a few feet away from me on the boardwalk. Location: John Chestnut Senior Park.
- Royal terns: These are really common terns on our beaches. I captured these two appearing to have a squabble with each other at the East Beach turnaround at Fort De Soto. One of them was likely encroaching on the space of the other, who was not too happy about that and let out a good cry.
- Black necked stilt: We were lucky to find a family of stilts with their three newborn chicks at the Roosevelt Wetlands this past summer. I loved seeing those furry little balls walking across the mudflat and this shot captures mom and one of the chicks together. Location: Roosevelt Wetlands.
- Reddish egret: This is a juvenile that was hanging out at Fort De Soto’s north beach with one of its parents who was teaching this young birds the ways of the heron. It seemed to be playing with these dead weeds, picking them up and putting them down. I captured it just as it noticed me and gave me that heron stare. Location: Fort De Soto.
- American flamingo: Our celebrity visitors for the year. One of these flamingos (nicknamed Peaches) was banded and has a tracker to assist with research. I took several photos of Peaches at the East beach turnaround at Fort De Soto and I thought I was done with flamingos for the season. Then one day I was about to leave Fort De Soto’s north beach when word got out that two flamingos had landed and were feeding in the shallows. I took a chance on this one, having to wade through almost knee high water to reach a very small sand bar where a few of us photographers huddled together down low to capture this kind of shot (another Ground Pod shot). Location: Fort De Soto.
- American oystercatcher (state protected): I thought I would end on a happy note. For the first time in several decades we had oystercatchers nest at Foret De Soto’s north beach. I was lucky to take this photo of mom AE and one of her chicks trying to stay warm by huddling against her chest just a few days after the three chicks hatched. I have since captured many shots of the banded birds (AE the mom, Archie the dad and Y3-Y5 the three chicks who are now grown and largely on their own). The area where they nested has sadly been wiped out by the surge from the hurricane but hopefully something can be done so that they continue to nest and add to the population of oystercatchers.
As the video concludes, the following text appears on screen: 1 in 4 birds have been lost since 1970. Many of the birds in this video are threatened or endangered. Find out how you can help at 3billionbirds.org.
That’s a wrap (almost) on 2023. If I get any good photos over the next week of vacation, they will be posted on my Vero site as usual: vero.co/lfp1211. My goal for the next year is to get to 150 species and to complete some of the categories of local birds for which I am only missing one or two species: owls (barn and screech), woodpeckers (northern flicker and yellow-bellied sap sucker), hawks (red tailed, Cooper’s) and falcons (merlin and peregrine). Putting that out into the world so that it becomes a reality. It’s worked so far!