I finally had a chance to stop by an Apple Store to give the new MacBook Pro with the Touch Bar a try with VoiceOver. What follows is a summary of my initial experience, rather than a comprehensive review. If you do want to read a comprehensive review of these new Touch Bar MacBook Pros from a non-accessibility perspective, there are several of those around, including this excellent one by Jason Snell at Six Colors.
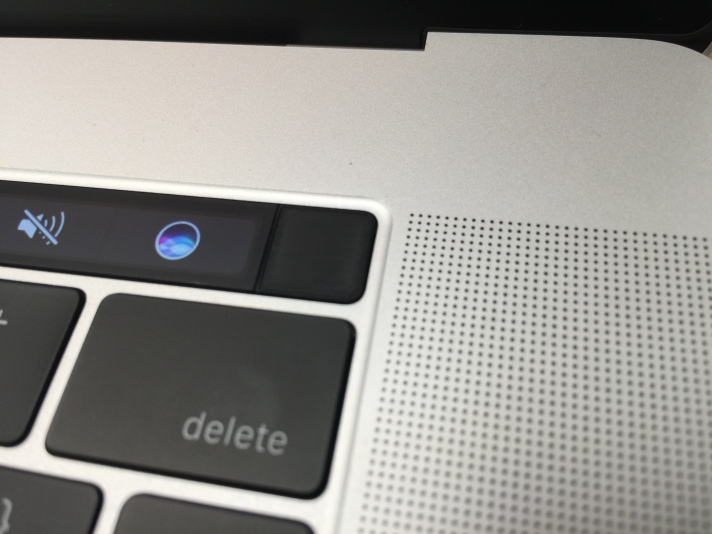
Your first question when you try out this new laptop for the first time is probably going to be: how do I perform the Command F5 shortcut to turn VoiceOver on without the hardware function keys? Well, if you have been using an iOS device, the answer will sound familiar. It involves a triple-click of the Touch ID button located on the right side of the Touch Bar (this button doubles as the power button for the laptop as well). This is similar to how you use the Home button on iOS devices for the Accessibility Shortcut. The only difference on the Mac is that you have to hold down the Command key as you perform the triple-click on the Touch ID button. The Touch ID/power button is the only part of the Touch Bar that can click with a press. It is separated from the rest of the Touch Bar by a small gap that feels like a notch. I tried to take a photo in the bright lighting of the Apple Store.
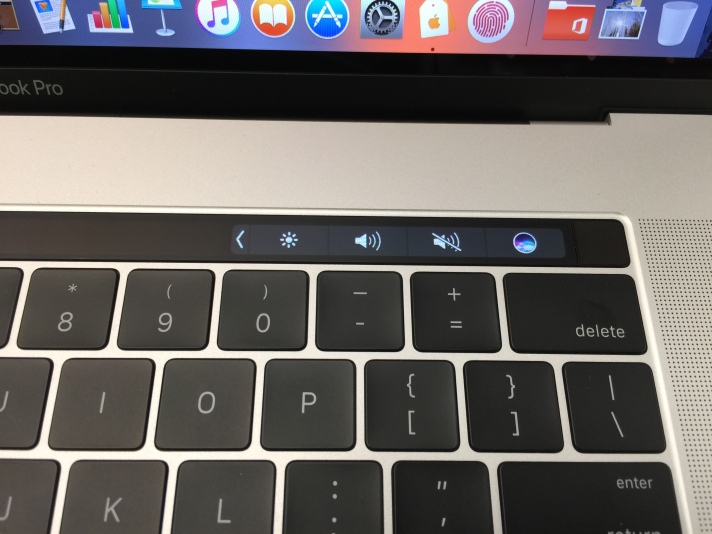
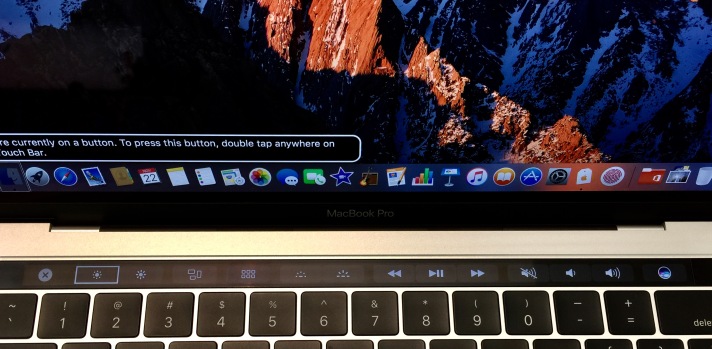
By default, the Touch Bar will display a set of five buttons on the right side. This is known as the Control Strip, a set of the most frequently used items that is similar in function to the Dock on an iOS device. From right to left, the buttons shown by default are: Siri, Mute, Volume, and Screen Brightness. A fifth narrower button expands the Control Strip and shows more options. When the Control Strip is expanded, it pretty much mirrors the media keys previously available on a laptop with physical keys – with options such as keyboard brightness, Mission Control, Exposé, and media playback (Play/Pause, Previous and Next). The Close (X) button found on the left edge of the Touch Bar will collapse the Control Strip from its expanded state. The Control Strip is user-configurable, meaning you can swap out the default buttons for other options you use more often.
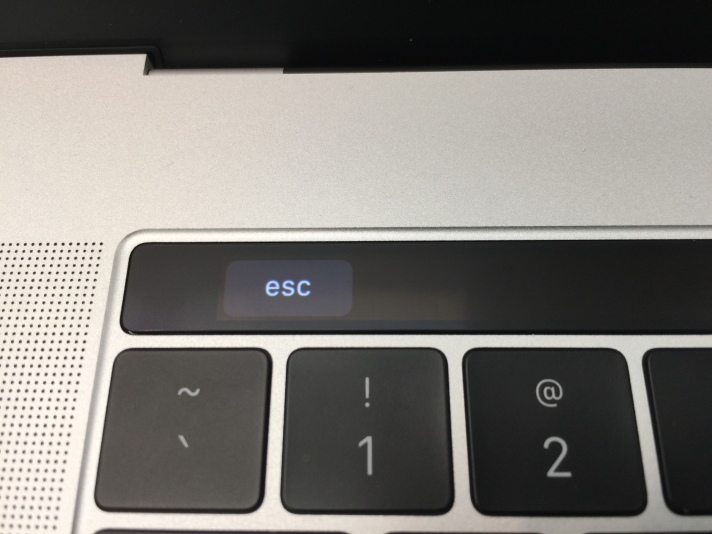
If you are a fan of the Escape key, you will be happy to know it is still around, just in a different form. You will usually find it on the left side of the Touch Bar (at times it may be replaced by a Close (X) button).
Interacting with the Touch Bar’s software buttons while VoiceOver is turned on will again seem familiar for iOS users. Just like on an iPhone or iPad, you can move your finger over different areas of the Touch Bar to hear each key or button spoken aloud as you go over it with your finger, or you can use flick gestures to move the VoiceOver cursor from item to item. Once the desired item has focus, you can then double-tap anywhere on the Touch Bar (or even Split Tap) to make a selection.
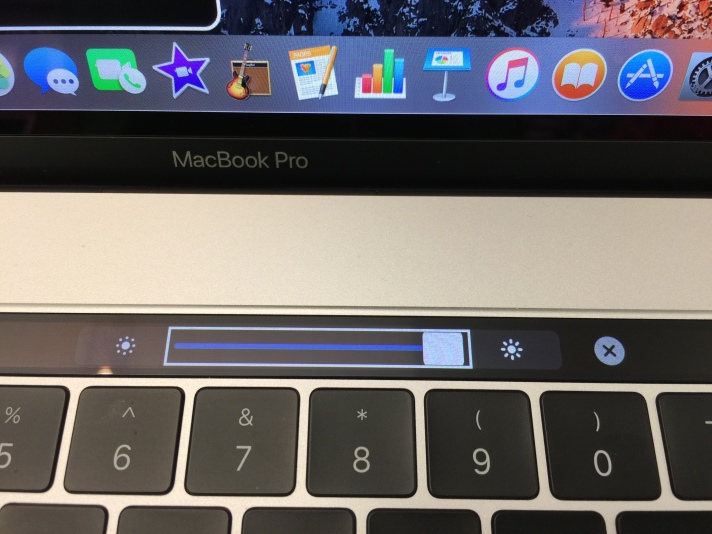
With many of the buttons on the Touch Bar, selecting them will open a slider for adjusting the values for a given setting (volume, screen brightness, and so on). You will need to use a special gesture to interact with that slider. This gesture consists of a double-tap and hold followed by sliding your finger over the Touch Bar without letting go, which will adjust the value of the slider. When you let go with your finger, the slider may close automatically, or you can use the Close (X) button to its right. The special gesture for interacting with a slider is required because of the limited vertical space on the Touch Bar. On an iOS device, you would typically move the VoiceOver cursor to the slider and then flick up or down with one finger to adjust its value.
As with the Escape key, the Function keys are still around as well, but they are only accessible when you Hold down the Function key on the keyboard. I recorded a short clip to show that in action.
Any of the VoiceOver keyboard shortcuts that use the Function keys still work, you just have to add one more key (Function) to the shortcut and then select the desired function key on the Touch Bar using an iOS-style double-tap. For example, to bring up the VoiceOver Utility, the keyboard shortcut is VO (Control + Option) F8. With the Touch Bar, you will press and hold VO (Control + Option) along with the Function key, then select F8 on the Touch Bar as you would on an iOS device (by double-tapping once it has focus). It took me a few minutes to get the hang of this, but I’m sure it will become more ingrained with practice if I ever get one of these machines and use it day in day out.
- Note: As noted by @IAmr1A2 on Twitter, you can also use the number keys to perform a VoiceOver command that uses the function keys. For example, the command mentioned above would be VO + Function + 8.
The real power of the Touch Bar lies in the fact that it can morph into a variety of controls depending on the app that is open. Due to time constraints, I was not able to try the Touch Bar with as many apps as I would have liked during my visit. That will have to wait for another time. I did open up GarageBand and had no problems accessing any of the items on the Touch Bar with VoiceOver. With Photos, the only item I could not access was the slider for scrubbing through the photos collection.
Apple has made available a knowledge base article with additional information on using not only VoiceOver but also Zoom and Switch Control with the Touch Bar. I especially look forward to trying out Zoom on a future visit to the Apple Store, as I already know I will probably need to use this feature quite often due to the small size and dim appearance of the Touch Bar (especially when options are dimmed).
For the first few minutes using the Touch Bar, it felt like I was using two devices side by side as I interacted with the new MacBook Pro with VoiceOver, each with its own already familiar interaction model: the keyboard input method laptops have used for decades, and the touch input method more recently introduced with iOS devices such as the iPhone. While these two input methods were each already really familiar to me, putting them together into a seamless interaction with the new laptop took me a little while. As with any new interaction method, I know it will take me some time to build the same kind of muscle memory I have developed with the now familiar Trackpad Commander feature (which allows me to use iOS-style gestures performed on the Trackpad as alternatives to many VoiceOver keyboard shortcuts). For now, I am happy to see that the Touch Bar is as accessible as Apple’s other interfaces, but I will need more time experimenting with it on a variety of apps before I can decide that it is an essential tool that justifies the higher price of the models that include it.
Thank you for this review, it is very useful information.